
Embarking on the journey of counted cross stitch can be both exciting and rewarding for beginners. This timeless craft allows you to create beautiful, intricate designs by stitching small X-shaped stitches onto fabric. If you’re new to counted cross stitch, fear not! This step-by-step guide will walk you through the basics, providing you with the essential knowledge to start your own cross-stitching adventure.
Step 1: Gather Your Supplies
Before you begin your cross-stitch project, make sure you have all the necessary supplies:
- Aida Fabric: Aida is a popular fabric for cross stitching. It has evenly spaced holes that make it easy to count stitches. Start with a lower count Aida (14 or 16 count) for your first project.
- Embroidery Floss: Choose colors that match your design. Floss is typically made up of six strands, but for most projects, you’ll use two strands at a time. Sampler packs can be bought from some companies including Sulkey.
- Cross Stitch Needles: Use a blunt-tipped tapestry needle. The size of the needle depends on the count of your Aida fabric.
- Embroidery Hoop or Frame: Hoops help keep the fabric taut, making it easier to stitch. Choose a hoop size that comfortably fits your project.
- Pattern: Choose a simple pattern for your first project. Many patterns are available online or at craft stores. Ensure your pattern includes a chart and instructions.
Step 2: Understand the Basics
Fabric Orientation:
- Identify the center of your fabric by folding it in half both horizontally and vertically. Mark the center with a light stitch or a water-soluble pen.
Thread Preparation:
- Separate the desired number of strands from the embroidery floss. Most patterns use two strands, but it can vary. Be sure to check your pattern.
Starting a Stitch:
- Bring the needle up through the fabric from the back.
- Make a diagonal stitch, forming the first half of the X.
- Bring the needle back down through the fabric, completing the second half of the X.
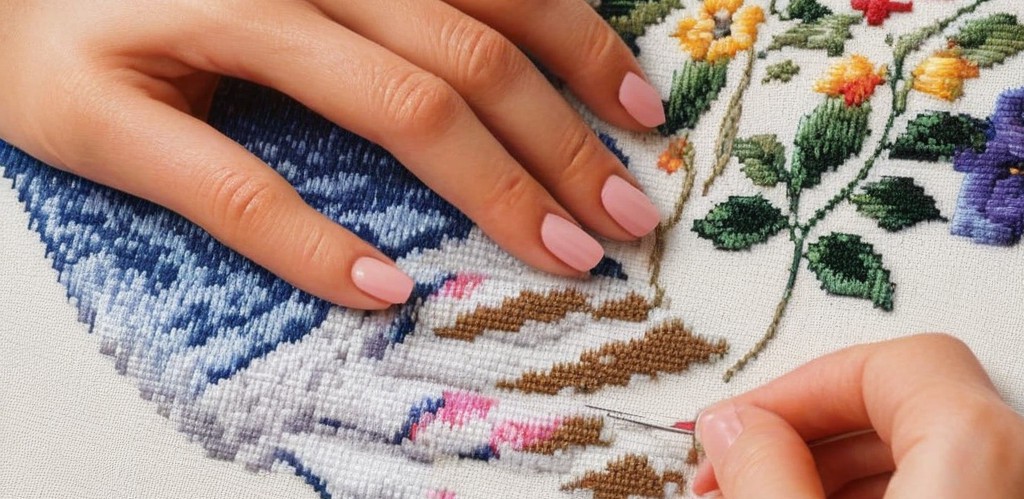
Cross Stitch Technique:
- Work from the center of your pattern, making neat, evenly spaced stitches. Follow the chart and use the grid on your fabric to keep track.
Step 3: Starting Your Project
- Center Your Design: Begin stitching from the center of your pattern. This ensures your design is centered on the fabric.
- Secure Your Thread: Start with a waste knot or loop to secure your thread at the back of the fabric.
- Follow the Pattern: Work row by row, following the pattern’s symbols and colors. Be patient, and take breaks to avoid eye strain.
Step 4: Finishing Your Project
- Secure Loose Threads: Tie off or weave in loose threads at the back of your work to prevent unraveling.
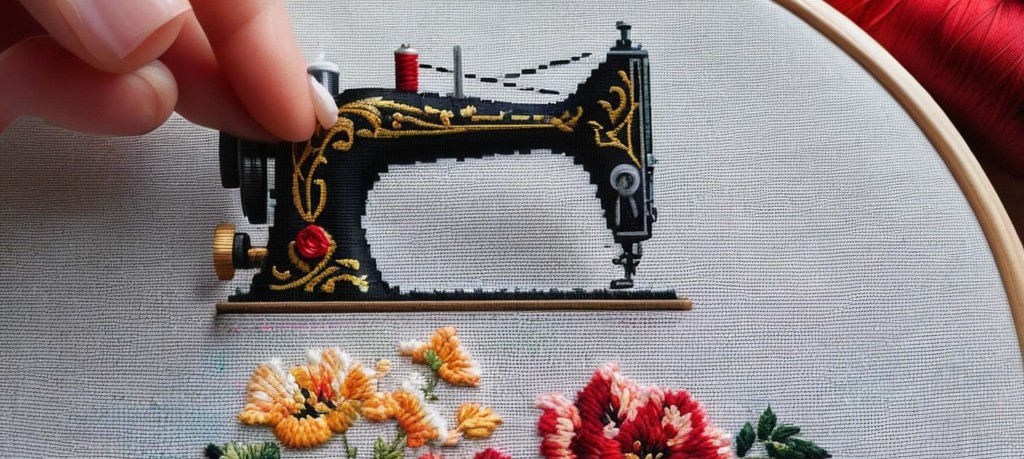
- Frame Your Project: Once finished, you can frame your cross-stitch or turn it into a decorative item like a pillow or ornament.
Step 5: Tips for Success
- Good Lighting: Adequate lighting is crucial for precise stitching.
- Practice Backstitching: Backstitching adds detail and outlines. Practice this technique for polished results.
- Experiment with Colors: Don’t be afraid to personalize your projects by experimenting with different colors and shades.
Remember, counted cross stitch is a skill that improves with practice. Enjoy the process, and let your creativity shine as you create beautiful, handcrafted pieces.
Happy Stitching!